Introduction
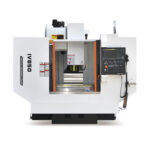
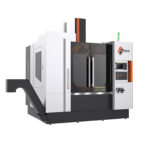
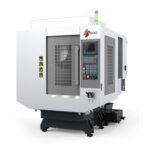
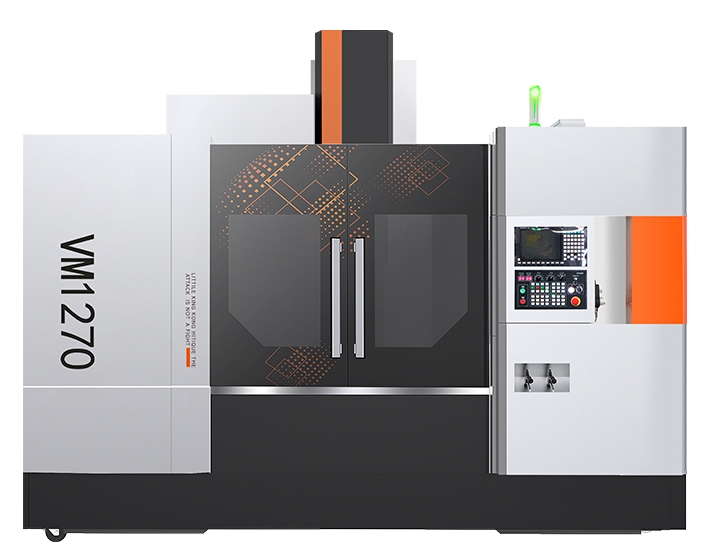
As an important piece of equipment in the modern mechanical manufacturing industry, the processing accuracy of vertical machining centers is directly related to the quality and performance of products. Therefore, regular inspection and evaluation of the accuracy of vertical machining centers are of great significance for ensuring the normal operation of the machine tools and improving production efficiency. The accuracy inspection of vertical machining centers is a comprehensive process, involving multiple aspects of inspection to ensure that it can meet the predetermined processing accuracy requirements. The following are some of the main accuracy checks
Why Accuracy Inspection Matters
Before diving into inspection techniques, it’s important to understand why accuracy checks are crucial:
○ Ensures part quality – Precision machining requires tight tolerances.
○ Reduces scrap and rework – Early detection of errors saves costs.
○ Extends machine life – Regular checks prevent wear-related inaccuracies.
○ Compliance with standards – Many industries (aerospace, automotive) require strict accuracy validation.
Key Accuracy Inspection Methods for Vertical Machining Centers
1.Geometric Accuracy Checks
Geometric errors affect the machine’s ability to maintain straightness, squareness, and parallelism. Common tests include:
1.1 Straightness and Flatness Testing
○ Tools used: Precision levels, laser interferometers, straightedges.
○ Procedure: Measure the movement of the X, Y, and Z axes to detect deviations.
1.2 Squareness Testing
○ Tools used: Square master, dial indicators.
○ Procedure: Check perpendicularity between axes (e.g., X-Y, Y-Z, Z-X).
1.3 Spindle Runout Testing
○ Tools used: Dial test indicators.
○ Procedure: Measure radial and axial spindle movement to detect misalignment.
2.Positioning Accuracy and Repeatability
These tests ensure the machine moves precisely to programmed positions.
2.1 Laser Interferometer Measurement
○ Best for: High-precision calibration.
○ Procedure: A laser measures linear positioning errors in each axis.
2.2 Ballbar Testing
○ Best for: Detecting backlash and servo mismatches.
○ Procedure: A telescoping ballbar records circular interpolation errors.
2.3 Double-Ballbar Test
○ Advanced method: Evaluates dynamic errors during motion.
3.Thermal Deformation Analysis
Heat buildup can distort machine components, affecting accuracy.
3.1 Infrared Thermography
○ Use case: Identifies hotspots in spindle and guideways.
3.2 Thermal Growth Compensation
○ Solution: Some CNC systems automatically adjust for thermal expansion.
4.Cutting Performance Verification
After geometric and positioning checks, test actual machining performance.
4.1 Test Part Machining
○ Standard parts: NAS 979 or ISO 10791 test pieces.
○ Evaluation: Measure dimensions and surface finish.
4.2 Surface Finish Analysis
○ Tools used: Profilometers.
○ Indicators: Roughness (Ra) and waviness (Wa) measurements.
Best Practices for Maintaining Accuracy
○ Regular calibration – Follow manufacturer-recommended intervals.
○ Proper lubrication – Reduces wear on guideways and ball screws.
○ Environmental control – Minimize temperature fluctuations.
○ Operator training – Ensure correct machine handling.
Conclusion
Maintaining vertical machining center accuracy requires systematic inspection of geometric, positioning, thermal, and cutting performance factors. By implementing these methods, manufacturers can ensure high-quality production, reduce downtime, and extend machine life.


